Installation - Accelero XTREME 4780X2 cooler
The installation procedure
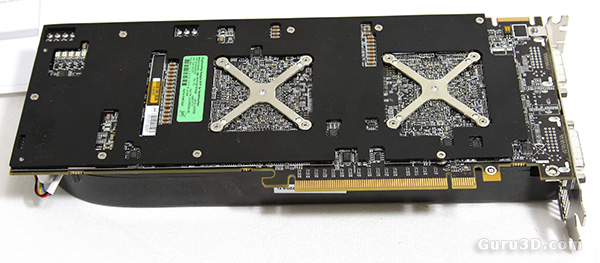
Alright, here's where we are going to startup the installation part of the Accelero XTREME cooler. First of make sure you have the proper screwdrivers, you'll need the tiny version Philips screwdriver. You can pick these up at the local hardware store. It would have been nice to see one included in the bundle though.
Off we go -- first we'll remove the backplate by removing the eight backplate screws. We'll reuse the backplate later on in the installation process.
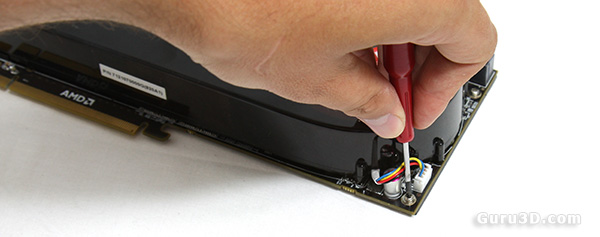
Before you try to remove the backplate, at the other side at the rear (shown above) of the card two screws are located, they need to be removed as well. Also the newer model X2's have two small screws just above the DVI connector at the frontside, remove them too. Now is also a good time to unplug the cooling connector located above.
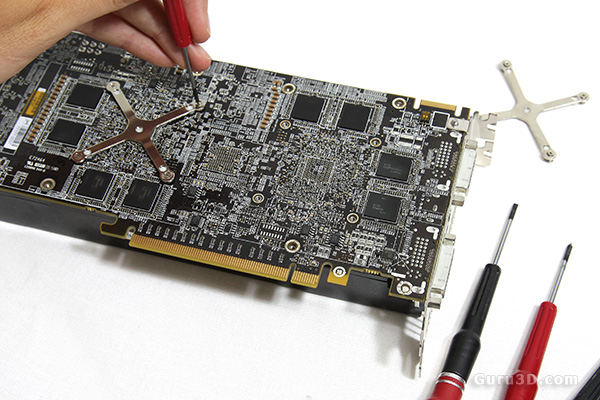
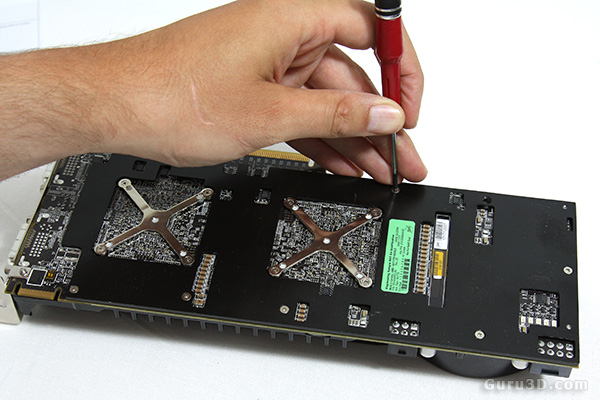
The back plate will now come off real easy. The next step is to remove the X shaped GPU mounting brackets at the backside of the card. Four springs based screws each. Again you'll need a special tiny Philips screwdriver, you can pick them up at any local hardware store. But the size is uncommon and again I think it would have been a nice touch from Arctic Cooling to have one included in the package.
Once you remove both of the X shaped brackets, the reference cooler is now stuck to the GPUs thermal paste. It's the only thing keeping it in place.
